Hello Spring - Using images to create cut files
Posted by Chantalle on
Hello Sassy friends!
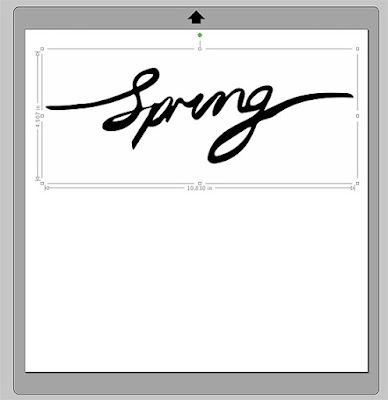
I'm sure you've seen this month's fun word and sketch challenge, which also includes a great little freebie from Anita for the word Spring! For those of you with Silhouette Cameo's that would like to use the file but are not exactly sure how to get it from an image to a cut file, I've included a little step by step below, to help you along.
For my page, I have rotated the sketch 180 degrees and kept a tighter focal point. The background uses a Dear Lizzy floral stencil with some matte pink mist. There is also watermark butterfly stamping which hasn't come out very clearly in the photos. If you scrunch your eyes a bit, you can make them out ;)
There are also floral die cuts, and in keeping with the spring theme, a few butterflies. I thought I would stick with the pink palette for a bit of oomph!
How to create a cut file from an image
1. Start by opening the image in a new page. Go to file>open and then select the image you want to use. Strong contrasting images with clear edges work well. If necessary, resize the image so it fits within the boundaries.
2. Once you're happy with the placement, go back up to the the Object menu, and scroll down to 'Trace'. This will open a menu to the right with lots of trace options.
3. Click on the 'Select Trace Area'...
...and then go back to the image you want to trace and draw a box around the image.
4. Look in the trace options menu and adjust the High/Low pass filters with the sliders until you get a good, even coverage of yellow over the area you want to cut.
Once you are happy, click on the 'Trace' option (as shown below) which will convert the yellow highlight...
... into a red cut line, ready to cut or save for use at a later date.
Thank you so much for stopping by. I can't wait to see this month's entries!
Chantalle x
Like this page? Create with these similar products from the Sassy store


