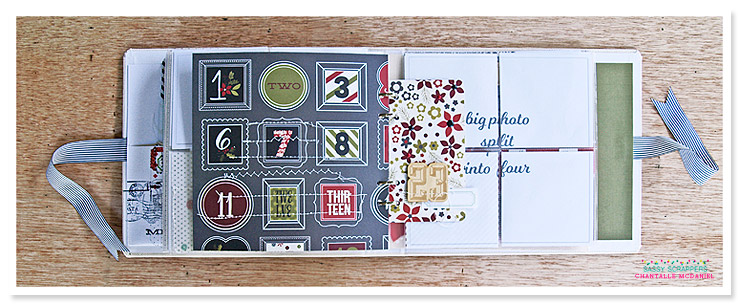
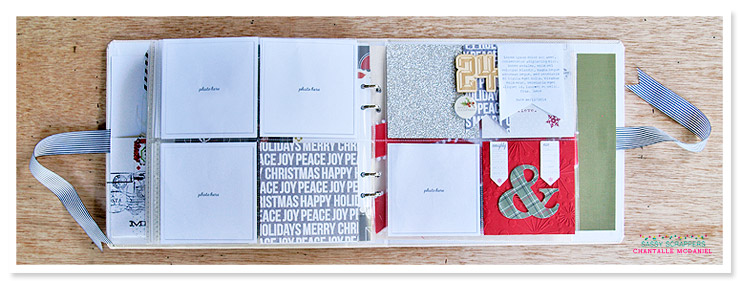
Let's create: December Days 17-25
Posted by Chantalle on
Hello Sassy friends
Fridays seem to roll back around so quickly... I'm looking very forward
to the start of the school holidays!
Thank you for stopping by to see how my December Days album has turned out.
Thank you for stopping by to see how my December Days album has turned out.
Hopefully the way the majority has already been planned, should help making documenting over this crazy month very easy indeed.
If you have missed my earlier posts,
If you have missed my earlier posts,
Day 17
Glitter cardstock, vellum, wood numbers, Merry & Bright stickers, ephemera

Glitter cardstock, vellum, wood numbers, Merry & Bright stickers, ephemera

 |
| Get more out of some ephemera pieces by snipping them in half |
Day 18
White cardstock, doily, wood numbers, ephemera, kraft envelope, patterned paper
White cardstock, doily, wood numbers, ephemera, kraft envelope, patterned paper
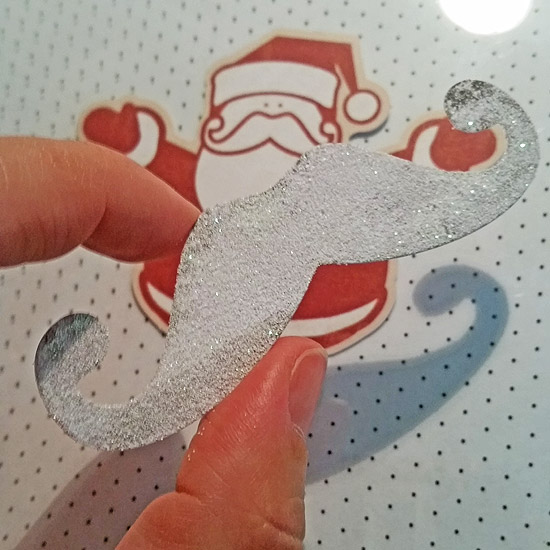
of white glitter and then assembled it over the Santa die cut
It's hard to tell from the photo but this has been arranged on top
of the black spotted acrylic page divider. The circle was left over
from an earlier page and I've just tucked Santa inside
Day 19
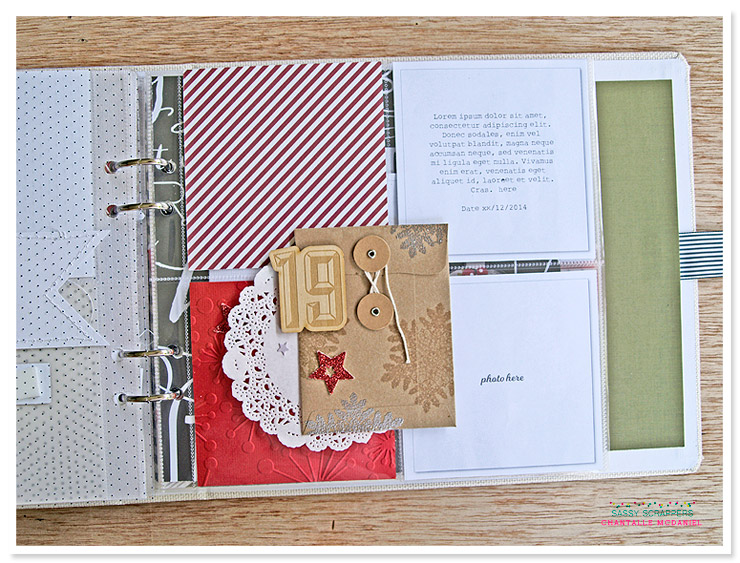
White cardstock, doily, wood numbers, ephemera, kraft envelope, patterned paper
White cardstock, doily, wood numbers, ephemera, kraft envelope, patterned paper
 |
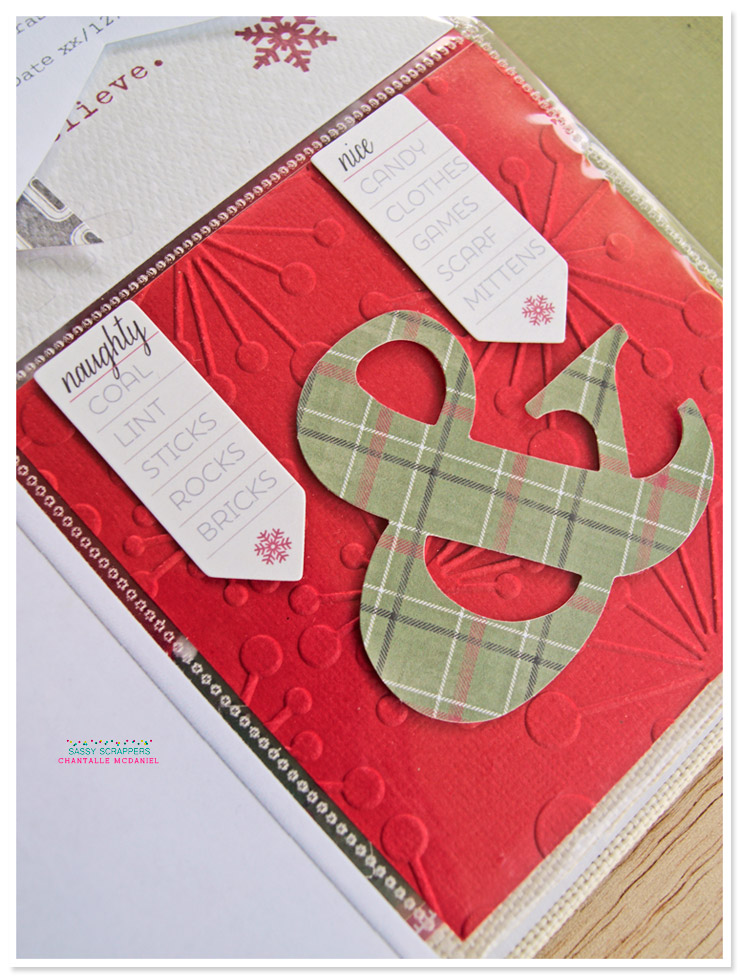
| A square run through my Cuttlebug with a Couture Creations embossing folder. |
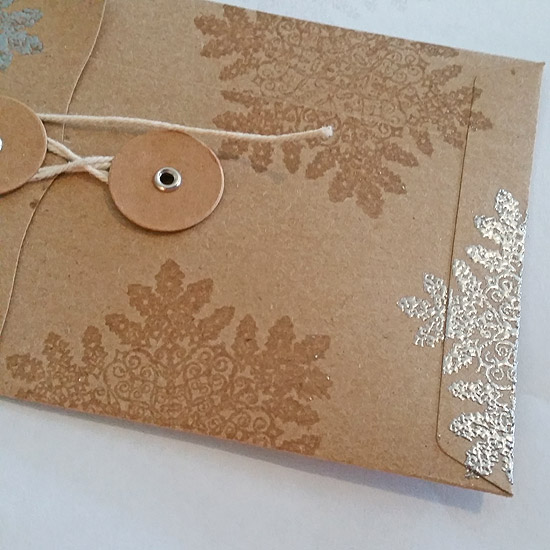 | ||
| Try stamping with Versamark on kraft. I love the effect. Heat emboss selections. |
Day 20
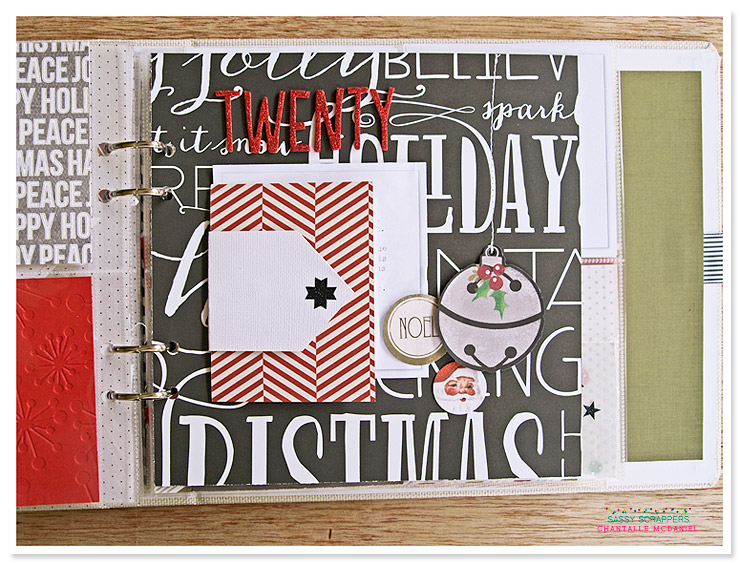
White cardstock, wood numbers, ephemera, patterned paper, glitter alphas
White cardstock, wood numbers, ephemera, patterned paper, glitter alphas
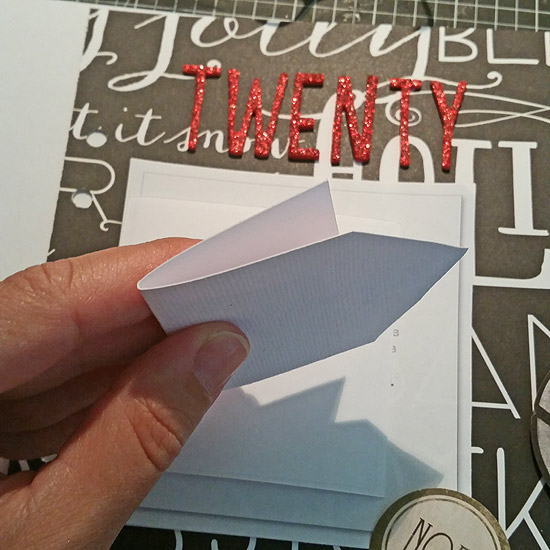
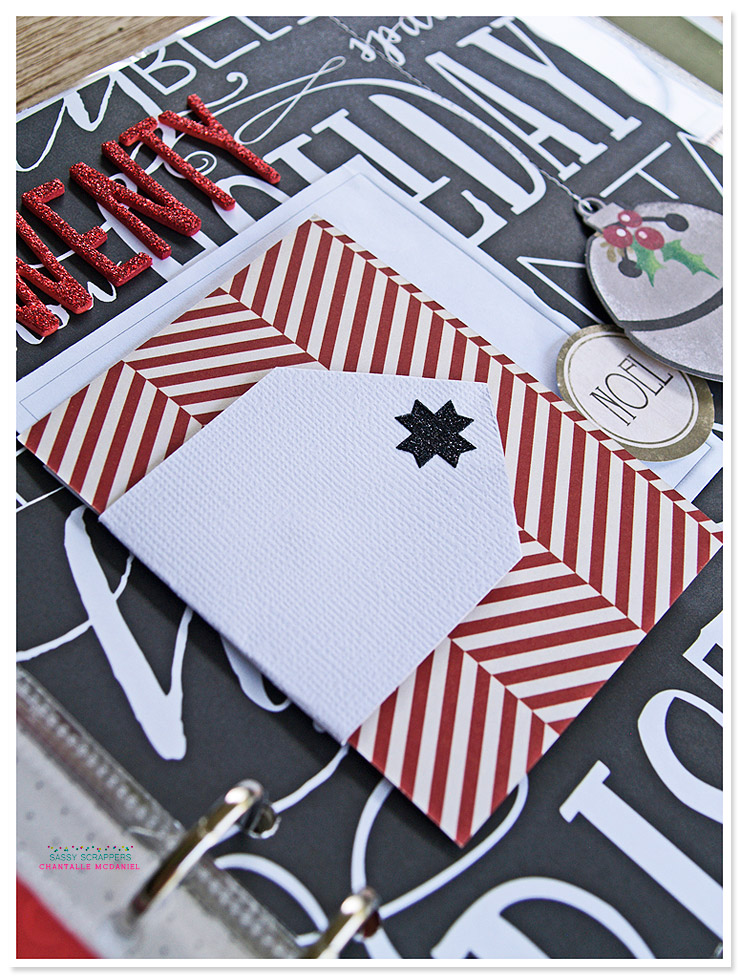
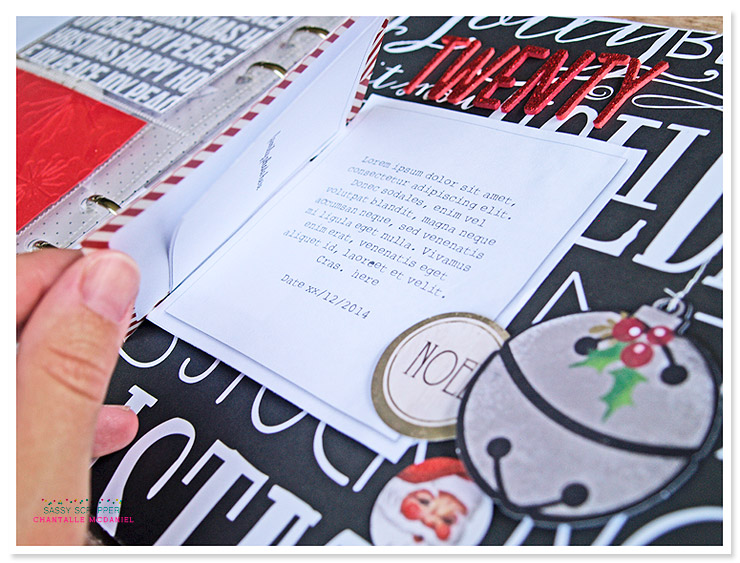
Hide some journalling and a pic or two under a flap
and embellish with some faux baubles.
Simply trim and fold a piece of card, trim the end if you like
and tuck your photo/journalling inside.
Pop a small hole in the top of the bauble die cut from
the ephemera pack and machine stitch to your page
Day 21
Patterned paper, glitter stickers, wood numbers, ephemera
Patterned paper, glitter stickers, wood numbers, ephemera
Create a cute shaker pocket with some of the spotty vellum.
1. Trim a piece, 100mm across by 170mm high.
Fold up at about 100mm down the length.
2. Optional: Punch some shapes out of the vellum
3. If you want to punch shapes in you pocket, insert a bit of acetate inside so you can see the confetti more clearly and prevent the bits from falling out.
4. Stitch three sides closed with a sewing machine.
5. Insert confetti and sew shut.
Tip: Place a bit of adhesive on one or two of the shapes
inside the shaker so they don't all fall to the bottom.
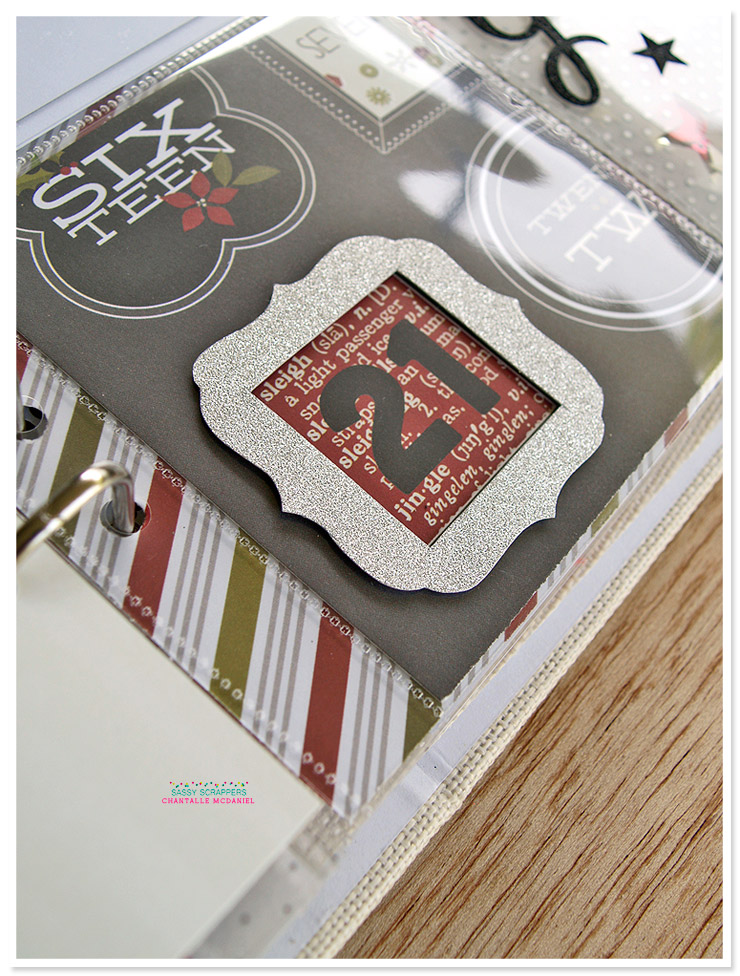
For the date, I have made a feature out of the number printed on this bit
of Simple Stories paper that I trimmed to fit inside the album inserts.
Then place the traced shape onto a paper of your choice, and cut out.
Mount with foam tape.
Day 22
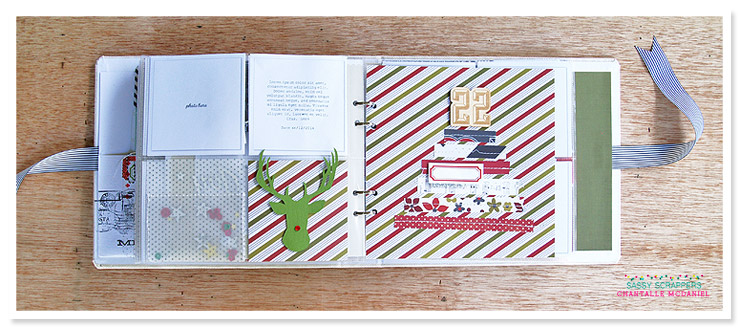
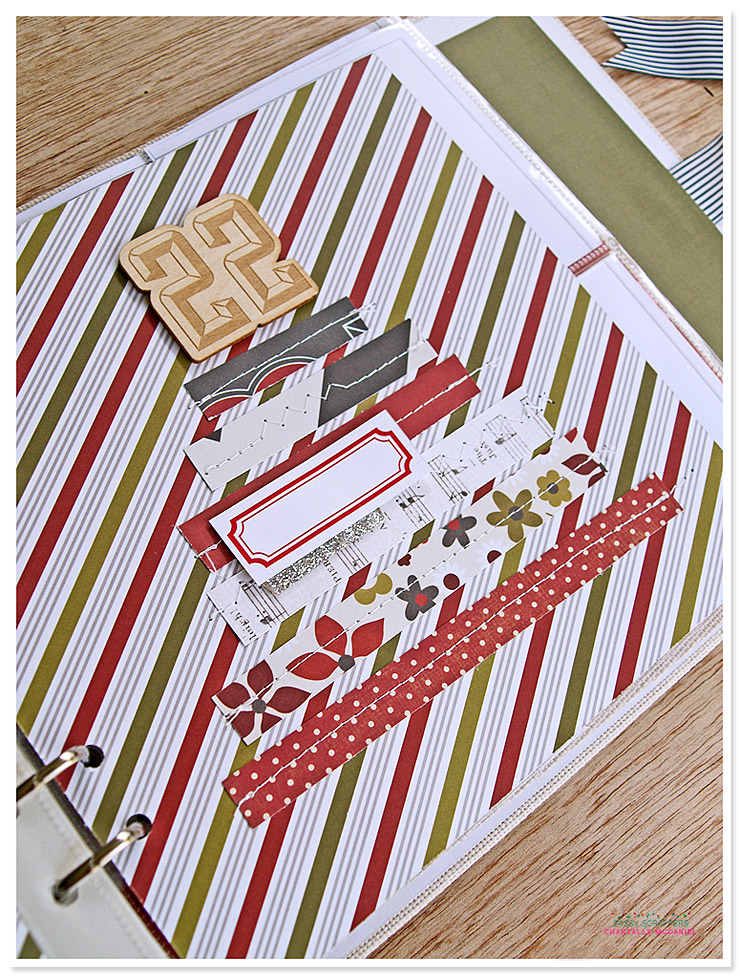
Custom die-cut, doily, wood numbers, ephemera, patterned paper, journalling tag
Create this sweet tree using scraps and then machine stitch down.
Custom die-cut, doily, wood numbers, ephemera, patterned paper, journalling tag
Create this sweet tree using scraps and then machine stitch down.
Day 23
Patterned paper, wood numbers, Sn@p card, journalling tag
Day 24
Glitter cardstock, wood numbers, ephemera, Merry & Bright stickers, patterned paper, journalling tag
Heidi Swapp has done a gorgeous free printable with a December theme.
This cutie has been punched and set in an Epiphany Crafts round tool.
Day 25
Custom cut file, wood numbers, ephemera, Merry & Bright stickers, patterned paper, journalling tag
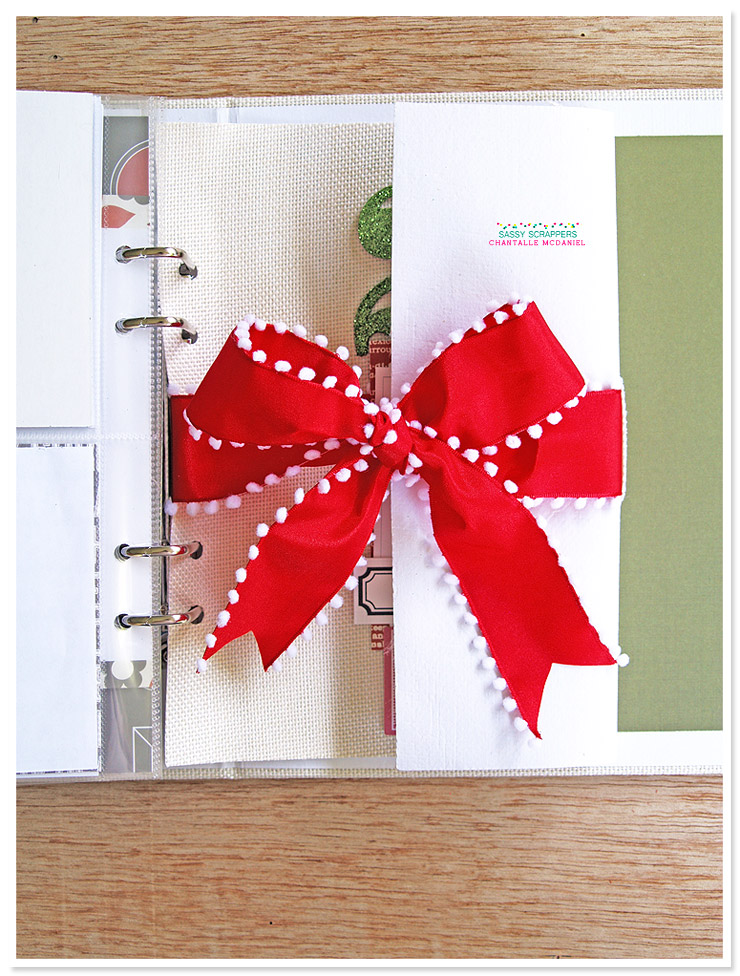
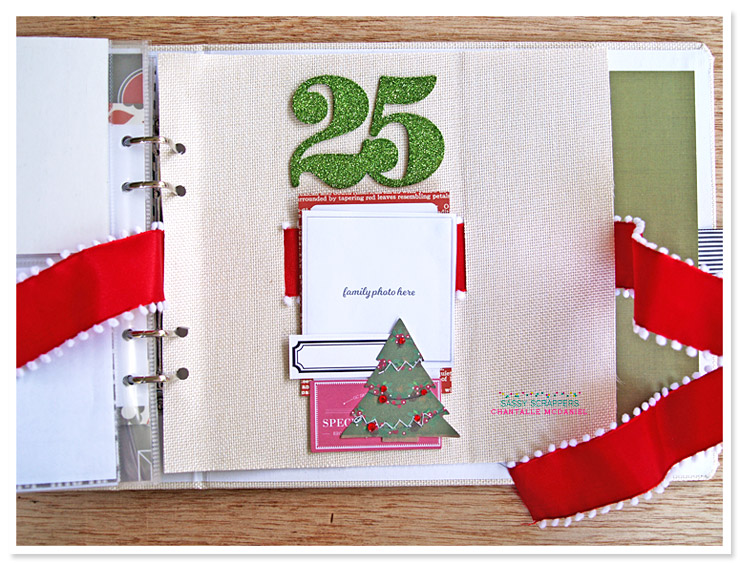
For my final day I wanted to echo the notion of gift giving and have hence, 'wrapped' my last page!
It's a bit tricky to explain exactly how I did this, hehe.
It was very easy actually: just fold in the canvas page and then measure
how much ribbon you will need roughly, by wrapping the area.
It was very easy actually: just fold in the canvas page and then measure
how much ribbon you will need roughly, by wrapping the area.
Make it neat by threading the ribbon through the actual canvas itself.
1. Measure how wide your ribbon is.
2. Cut two slits in the canvas as shown below
3. Now thread your ribbon through the slits
This is what it looks like when opened...
If you are going to be making one, be sure to tag us,
we would so love to see your creations!
Till next time!
Chantalle
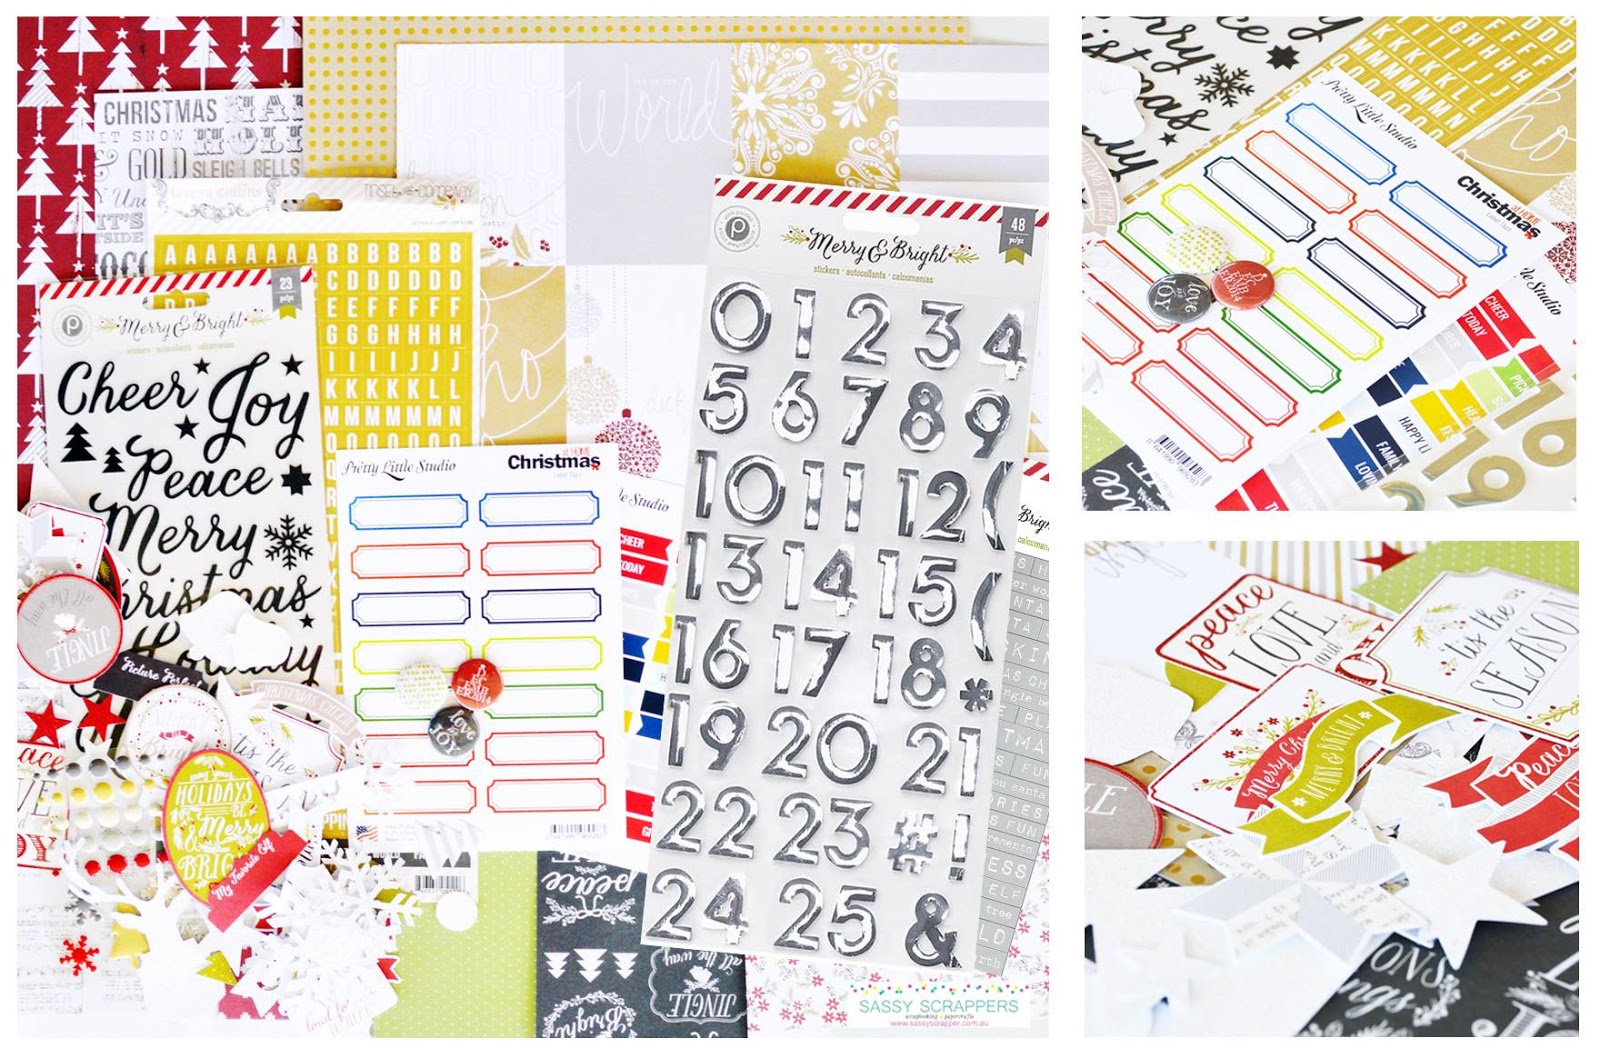
Grab yourself a kit from Sassy Supplies!

Till next time!
Chantalle
Grab yourself a kit from Sassy Supplies!

Share this post
- 0 comment
- Tags: Chantalle McDaniel, Christmas, christmas album, christmas kit, documenting December, foundation pages, My Minds Eye, Pink Paislee, Sassy Kit, Sassy Scrappers, Simple Stories


