Hi Sassy Friends! Welcome back to Project Life Week Sixteen | April 14 - 20!! Wow! Where is the time flying off to? This week included school holidays and our Easter weekend. There were plenty of photos taken and even more chocolate eaten! But this week with Project Life, I've decided to step outside my comfort zone, and add an extra dimension that will literally bring my stories to life! (But more on that later.)


Week 16 to me, was all about the storytelling. I wanted to add the little details about our 19 hour drive home, where we went during the week after that drive and who we celebrated our Easter Sunday lunch with.

The colours in the May Project Life Kit are combined this week to create a cohesive look, adding a softness to my spread. The past two spreads, Week 14 & Week 15, used the kit in a monochromatic style. This week, the combination of yellow, pink and turquoise suit the mood of how we celebrate Easter.
 As I started out with the intention of documenting being a focus this week, I wanted to take full advantage of the Elle's Studio Lil Snippets that are included in the kit. I fed them through my typewriter and typed on all of the labels before cutting them.

The same idea applies to areas on the journaling cards.

........................................................
 On the second page I wanted to add something more than just journaling. I wanted to actually complement the photos I had taken, with the sights and sounds of my children being involved. This means stepping out of my comfort zone and try to figure out how to include short video clips on my pages.
There are some great tutorials out there in cyberspace, but I'm not terribly good with technology. *grin* Thankfully I have access to my good friend Kim Jeffress' brain, who completely inspires and encourages me all in one swoop! Creating QR codes.
 Now, if you take photos on your phone, there's a high likelihood that you also take videos as well. I must admit however, I've never really thought to do anything more with those videos than store them onto a disc to watch as home movies in the future.
To start this process, I began with creating my own channel on Vimeo, which is also accessible via my iPhone. Alternatively you can create your own YouTube channel. It will do the same thing - store your videos and create URL links.
I have also downloaded a QR Code Maker. Qrafter Pro is the one that works best for me. It is a downloadable app for your phone, but it does cost money.
Once you have both your Vimeo/YouTube channel (with the video you want to create a code for) and QR code maker, the process is rather simple. Access the URL link from your video and apply it to the QR code maker. That's about it. Once the QR code has been made, you can then print it out to add to your PL spreads.
 I am so excited about this process of adding virtual reality to my pages, that you might see a few of these codes pop up in my pages over the next few weeks! I cannot express enough, how much difference to documenting this is going to make for me personally. One thing I know I will appreciate in the future, is the permanence of these moments, captured in time. Especially if I never get around to downloading my home movies off my phone and onto discs.
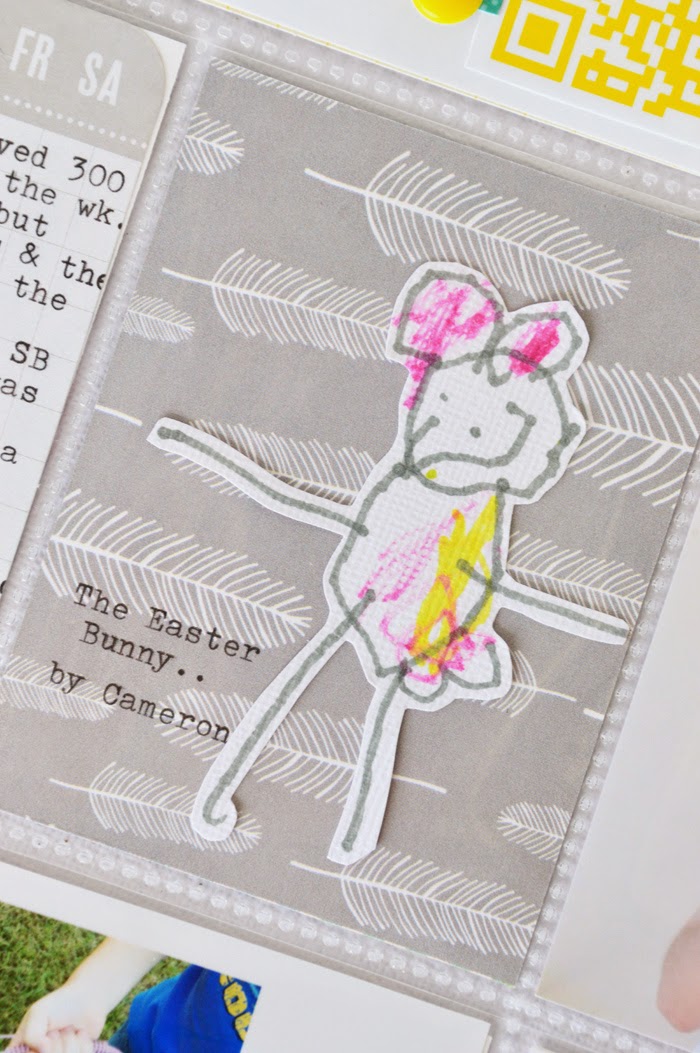
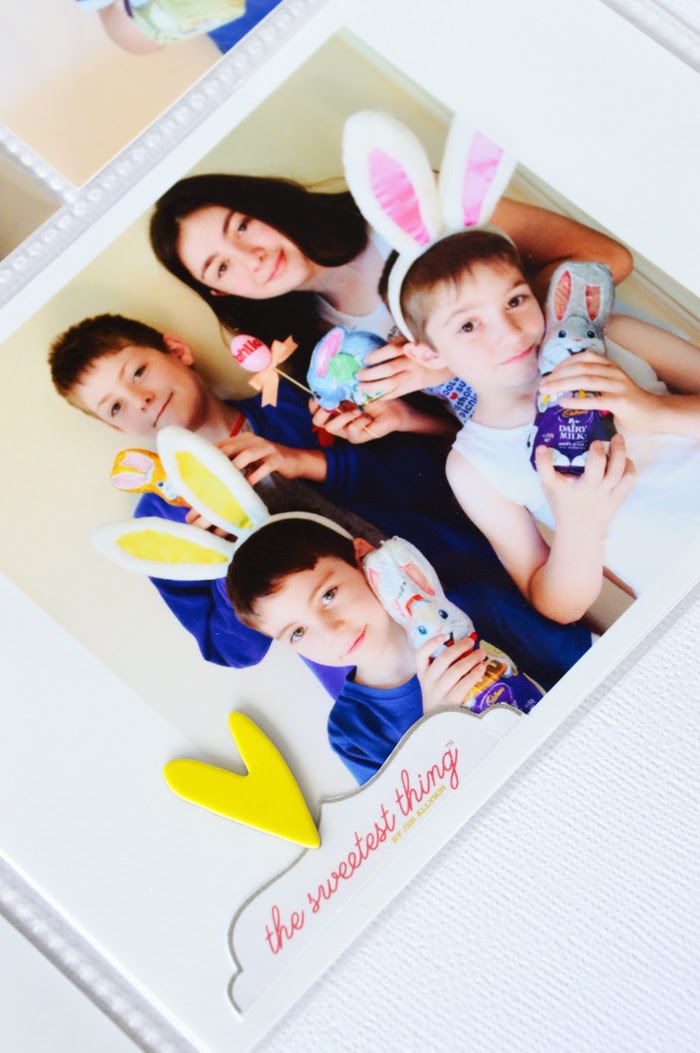
 To finish off the spread this week, I've included some more of my four year old's artwork and some posed photos from Easter Sunday morning. You might notice that I've also used the My Mind's Eye label from the sticker sheet, as part of my embellishments. The sentiment "the sweetest thing" was too good to not use on a photo that includes chocolate!

 This week, I encourage you to share some videos as QR codes on your PL spreads. Already my children are having a great time scanning and re-scanning the code, to watch themselves and their friends from the photo come to life.
ps - When adding videos to your Vimeo/YouTube channel, you have the option of making them public or private.


Share this post
← Older Post
Newer Post →


