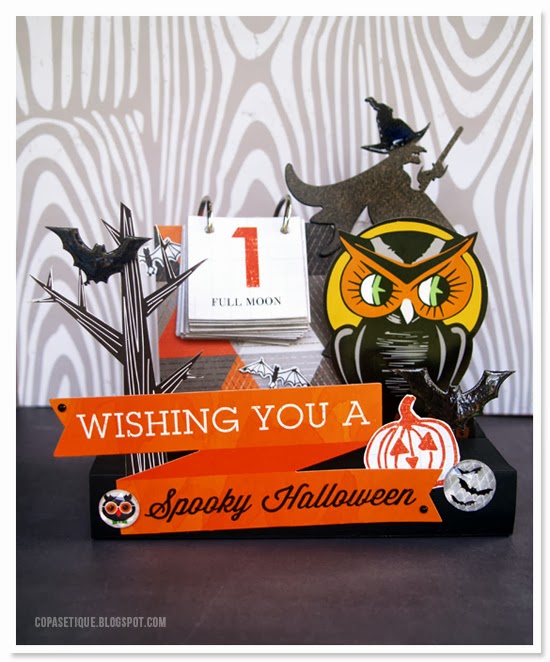
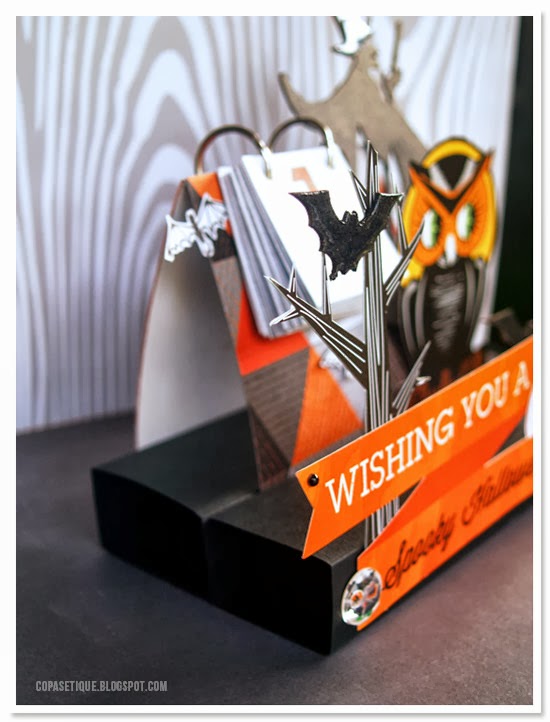
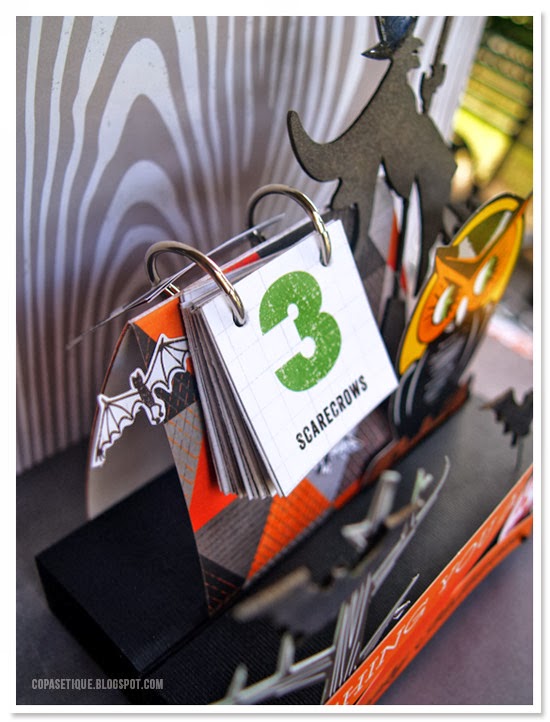
Spooktacular October Calendar
Posted by Chantalle on
I saw a 'pop top' card many moons ago in Creating Keepsakes I think, by Julie Munoz.
I have used the template as a base here.
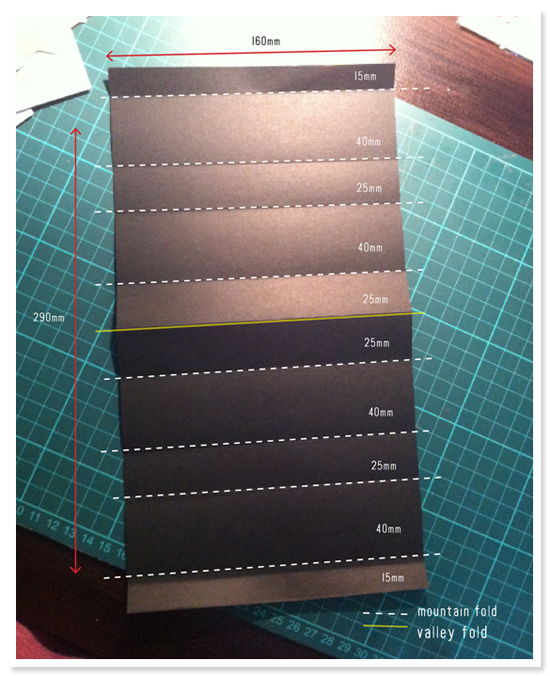
To start, you will need a sheet of 12x12 black Kaisercard
Trim it to 290mm (h) x 160mm (w). Then, fold it as shown.
Fold the first section over at the top and bottom and pop a bit of double sided tape on each end.
Don't put tape all the way across! We want the middle to remain open so we can slide the calendar stand and a few other bits inside.
On the under side of the Valley fold, apply some tape. These two strips will adhere together.
Now, you are going to effectively roll your folds in on themselves to create (for lack of a better word!) a kind of binocular shape. The valley fold will glue together, leaving two rectangular box shapes.
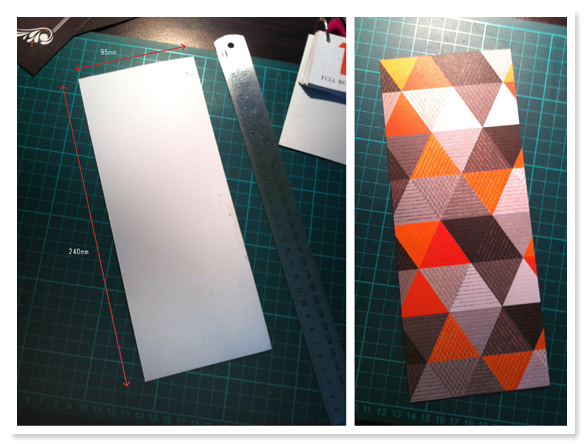
Next, take a piece of firm card stock and trim a piece that's 240mm (h) x 95mm (w).
Cover this with some Raven Triangles paper.
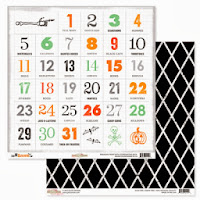
Next, take a sheet of Raven Countdown paper and, using the lines on the paper as a guide, trim all the numbers into roughly equal sized squares. Punch each piece near the top and stack. These can then be threaded with some Kasiercraft album rings (or similar)
Next, we are going to make 3 folds in our covered cardstock.
The first one at 112.5mm from the top, then at 225mm.
The first fold will be where the mini stand will fold in 'half'
and the second fold will be a support fold that will adhere to the bottom of the stand.
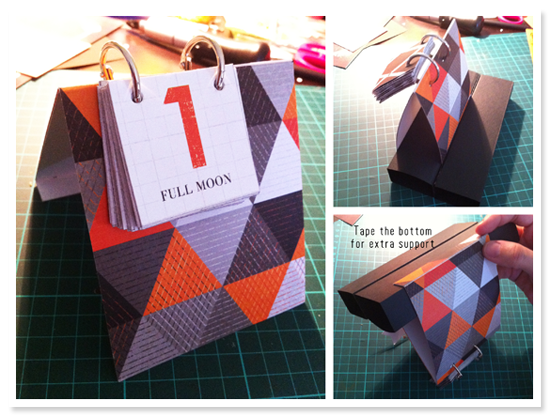
Using your already punched calendar days, position them on the folded covered card stock and punch holes to correspond. (scroll down and this will all seem a bit clearer hopefully! lol)
The covered stand is going to slot into the area that we left 'open' on the black card stock stand.
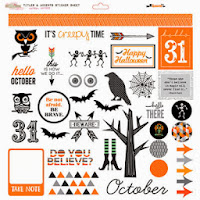
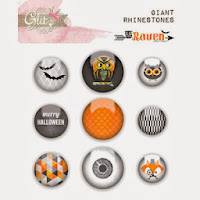
Once your stand has been slotted into the base and you've threaded your mini calendar onto the stand, you are ready to decorate! I have used some bits and pieces of Raven ephemera along with some Rhinestones. I've misted the bat and witch chippies with some Heidi Swapp Black Velvet Color Shine and added some shine with glossy accents. The tree is actually a sticker that I have backed with some black paper and fussy cut.
I hope you will give this a try for our fun October Scraplift challenge!
This month we are challenging you to scraplift your favourite DT and link up your entries
on the home page.
I am loving turning the little pages to reveal a new day and spooky word! If you have any questions about how to put this together, please drop us a line or pop it into the comments section.
Wishing you a fabulous weekend!
Chantalle
Sassy Supplies used:


