Sweet Treat for Mum
Posted by Chantalle on
Hello again Sassy friends! I hope this week has treated you well!
If you're a Mum, I wish you some relaxing one-on-one time with your stash. If you're creating for Mum, read on, as I show you how to create a card and little gift that will be sure to get the taste buds tingling!
As you might have seen, I'm currently creating with Pink Paislee's Citrus Bliss. I recently treated myself to a new shade of Color Shine for my collection and I kept the box for "something oneday"... Well it certainly gave me inspiration for a sweet (and sour!) treat box.
I started by opening up the Color Shine packaging and lay it flat. I then took my sheet of Flamingo Acetate and traced around the shape. Using a craft knife and a pair of scissors, I went about cutting out the shape of the box, then folding it in the appropriate areas using a bone folder. A line of double-sided tape on a couple of the folds to hold it together, and I have a cute little gift to accompany my card!
I filled the box with sour Fizz Bombs and wrapped a ribbon around it. The tag is made from a 'Pucker up' clear die cut from the Citrus Bliss Ephemera pack. I have given it a coat of adhesive (using my new fave Scrapbook Adhesives transfer sheets) and then matted it with white cardstock so I can make the sentiment more visible and write on the tag.
Punch a hole and thread onto the ribbon.
I have also been lucky enough to babysit a Minc! I have heard and seen so much about this fabulous machine that I could't wait to try it out!!
For my card, I have printed off the word 'Mum' (which I set in a word processing programme) through a laser printer. (The foil only works with this type of printing method as it doesn't stick to inkjet prints.)
With the heat setting to 3, I ran the card with some Silver foil over the top, and it came out beautifully! I can't wait to get a few more colours and play around.
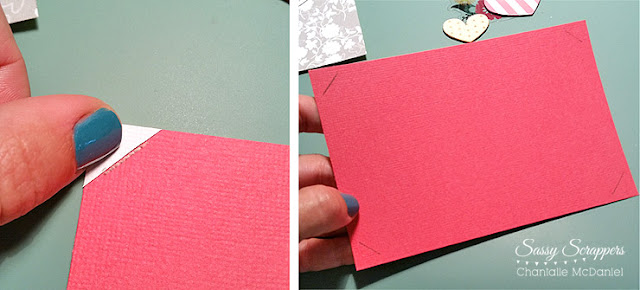
The base of the card is just a plain white card. I have cut a piece of cherry cardstock a bit smaller than 4x6 and made some slits into which I slotted the foiled patterned paper. A tip to make them even is to cut a small triangle of paper to use as your guide and then position it in each corner, as shown below. Cut into the marks you have made with a craft knife.
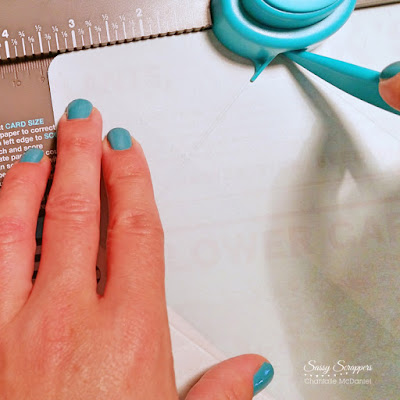
I have also created a co-ordinating envelope using a WRMK Envelope Punchboard which I'm quite smitten with.
This is how the card turned out... I have embellished simply, using some chipboard hearts stickers, a tag and clear die cut from the ephemera pack and a heart-shaped wood veneer.
Thank you so much for popping in today. Wishing you a very special weekend indeed.
Chantalle x
Sassy Supplies used:


